As an American, my only Christmas bread from childhood was fruitcake. Now I'm sure there are some out there that enjoy this ultra dense, sickly-sweet, torus, but I am not one of them. When I first moved to Germany and tried Stollen, I was in heaven. I had to learn how to make it. It's a very old Christmas bread, with a fascinating history you can read about here on
wikipedia. A small excerpt: "
A Stollen is a loaf-shaped cake containing dried fruit, and covered with sugar, powdered sugar or icing sugar. The cake is usually made with chopped candied fruit and/or dried fruit, nuts and spices."
The first thing one must do, to truly make a home made Stollen, is to candy fruit peel. These are available in small plastic tubs at your local supermarket, but they lack citrus zest, probably have some chemicals, and I just don't like them as much as the home made stuff.
It is easiest to score the fruit into quarters, then peel it off. You can use the actual fruit for something else like a punch or just drink the juice the next morning, but we only need the peel itself.
Lemons too, they were a bit harder than the oranges to peel, but not as difficult as the limes. You can pick which fruits you want (say, leave out the limes) and the ratio, but I used 4 large oranges, 2 lemons, and 2 limes, for 2 large Stollen loaves.
Next, one must cut the quarters again into quarters themselves, and fillet off the pith, the tasteless white soft part. You can see the knife separating it in the above photo. Top white bit is pith, bottom bit with the strong peel color is what we want to keep. You don't have to do this, but you get a much stronger citrus taste if you do, since you are keeping only the potent parts.
Right is the good stuff, left is the garbage. Compost it. :-)
Now we must candy it. It requires a very very dense sugar syrup, I believe this is a whole kilo of sugar (just over 2 lbs for the imperial folks)
Bring it to a boil for 5 minutes, this way the sugar is definitely dissolved.
Place the peels inside, and they must boil for around 2 hours. The goal is to get the sugar crystals to displace the water molecules in the peel. This results in a crystallization, or "candying" of the peel. They will then be very sweet, and can go months without spoiling.
Here you can see the color change in the peels from absorbing all that sugar, they are much more translucent.
Now they are laid out to dry a bit, see how wonderfully translucent they are? This is how you know the candying process was successful.
I love how they look en mass on the drying rack. They can be eaten like this, like a candy, kept in jars, or tied in small bundles, but for the Stollen...
They need to be cut into small chunks, so they can be suspended in the bread, and gotten in one bite.
Here is the large bowl of all the chopped candied peel. Beautiful.
Next one must soak the Sultanas (raisins made from green grapes instead of purple). The soaking is so that they do not burn in the oven. One can soak in just hot water, OR in rum. I chose rum. There is also some chopped dates in this mix, as I love the taste, but one can use purely raisins, or add in currants, or craisins (dried cranberries) whatever mix you desire, but it should be mostly sultanas or it's deviating a bit too much.
Here you can see they have absorbed almost all the water. It's a very fragrant fruit and rum smell, and don't resist trying one or two. Now that the fruit is all prepared, it's time to work on the dough.
This will be what is called a preferment. It's just a bit of the ingredients, with the yeast, so that the yeast can already start reacting. This is heavy cream, a small bit of flour, and half the yeast the recipe calls for. It will react for 2 hours at room temperature, then go in the fridge for a full day.
Here it is afterward, airier than it was, but still very dense.
Now comes the daunting task of getting all this flour (2 kilos, or 4.4 lbs) mixed into this preferment.
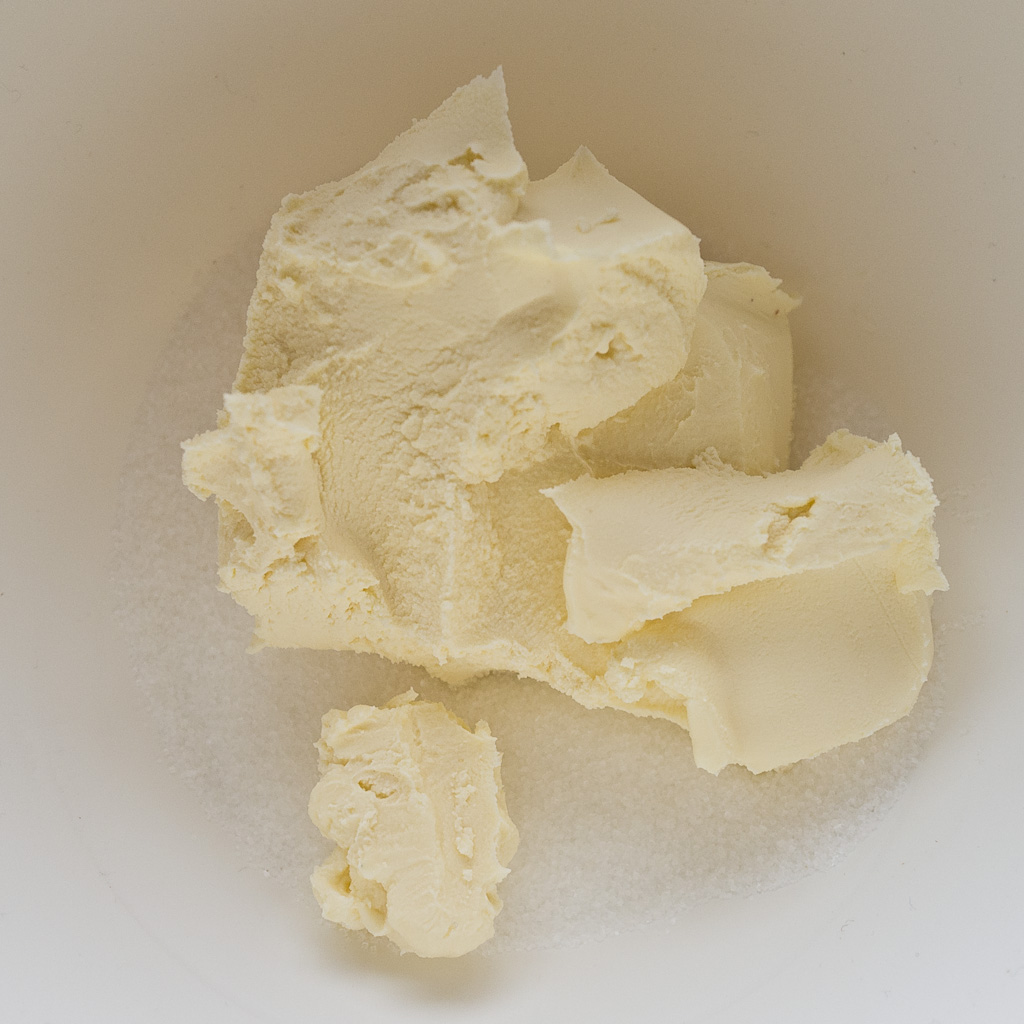
Oh and with a lot of butter too, and some cinnamon and salt.
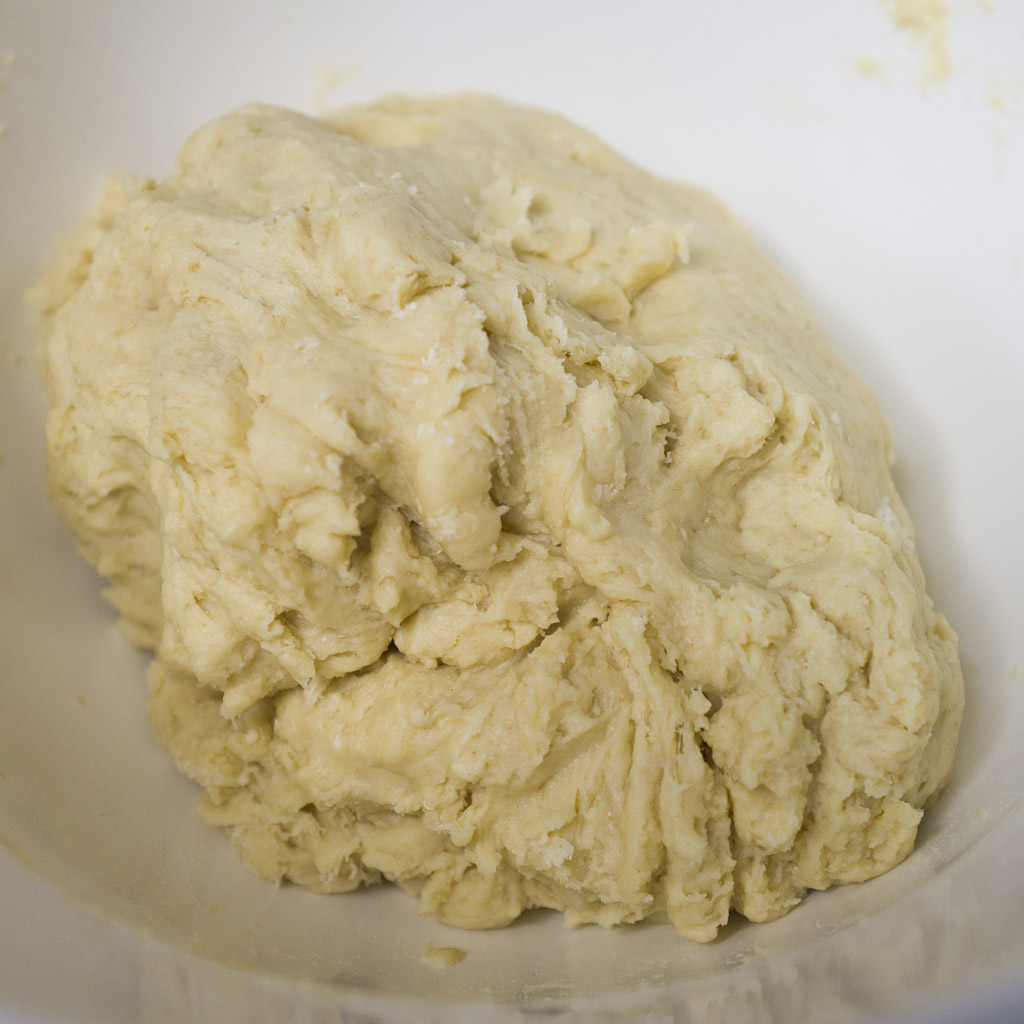
This takes about 30 minutes to fully incorporate. You start with a chunk of the preferment and butter, mix it in, then when it's incorporated, grab another chunk of butter and preferment. I was thinking because of my gym visits I could do it in 20 minutes, but it took the full 30. Very tiring work on your hands. Ok, dough is incorporated, job done... or is it?
Nope! Now it's time to incorporate all this fruit into that ultra dense dough. (this takes another 10+ minutes)
When
that is done, one shapes them into loaves, and there are two main styles, a tri-fold is the more traditional, but since the thickness of the loaf changes the flavor and texture, I like the less typical large loaf with a cut down the center.
After about 2 hours in the oven, they are done! Mine came out slightly over dark, mostly cause I did not have aluminum foil to make a tent over it at the end to prevent over browning, but by the time it's done done aging it won't matter.
The next day I bought foil, wrapped up the now cooled Stollen with 4 layers, because....
It must age for 6 weeks to get the proper flavor, in a cool room or cellar. our upstairs guestroom is quite cool if we aren't hosting, so I am keeping them in the window sill here. Start early so they are the proper age by Christmas, and don't give in to the temptation to cut into it early, or you rob yourself of the true potential!